


 8")


Installing a new roof is a significant investment in your home’s longevity and value. Whether you’re building a new house or replacing an old roof, residential roof installation plays a vital role in protecting your property from the elements. It enhances your home’s aesthetic appeal and provides long-term durability, ensuring your home remains safe and structurally sound.
Understanding the roof installation process is essential for making informed decisions. This guide will walk you through each step involved, from choosing the right materials to the final inspection, ensuring that you’re well-prepared for this important home improvement project. If you’re located in Chandler AZ, and need assistance with your roof installation, contact Elevate Roofing Pros for expert guidance and professional service. We’re here to help you make the best choices for your home.
Initial Consultation and Assessment
Before any physical work begins, the first step is to consult with a professional roofing contractor. During this consultation, a roofing expert will:
- Assess the current condition of your roof.
- Discuss your specific needs, including budget, materials, and style.
- Recommend the best roofing materials based on factors like climate, slope, and energy efficiency.
Material Selection
Choosing the right roofing material is essential for both aesthetic appeal and durability. Some popular options include:
- Asphalt Shingles: Affordable, durable, and available in a variety of colors.
- Metal Roofing: Long-lasting and energy-efficient, perfect for harsh weather conditions.
- Wood Shingles or Shakes: Ideal for a natural, rustic look.
- Clay or Concrete Tiles: Best for warm climates due to their heat-resistant properties.
- Slate Roofing: A high-end, durable choice, often used for luxury homes.
Roof Removal
For an old roof replacement, the existing roof must be removed. This includes:
- Tearing off the old shingles and materials.
- Inspecting the roof deck for any water damage, rot, or structural problems.
- Ensuring the surface is stable before installing the new roof.
Roof Deck Inspection and Repair
Once the old roof is removed, the roofing team will inspect the deck for damage. This includes:
- Checking for rot, mold, or weak spots that could compromise the new roof’s integrity.
- Repairing any damage to ensure a stable foundation for the new roof.
Installation of Underlayment
After the roof deck is ready, the next step is to install a waterproof underlayment. This layer provides an additional barrier against:
- Moisture infiltration.
- Ice dams.
- Wind-driven rain.
The underlayment is installed with overlapping layers, ensuring full protection.
Installation of Flashing
Flashing is installed around areas like chimneys, vents, and skylights to:
- Seal joints and gaps.
- Prevent water from seeping through vulnerable areas.
- Ensure that your roof remains leak-free for years.
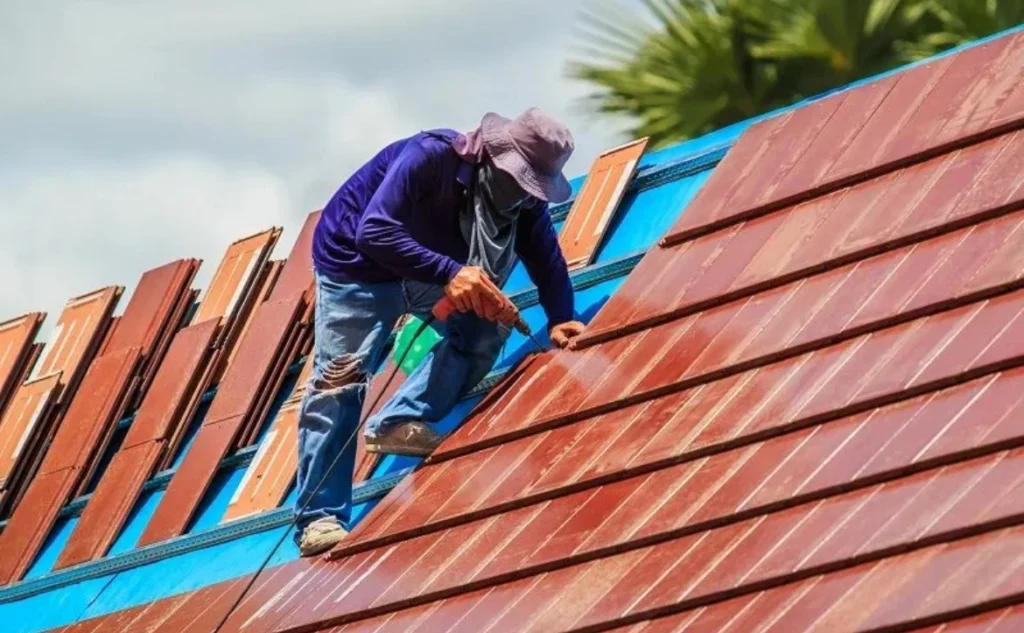
Shingle Installation
Now that the underlayment and flashing are in place, it’s time to install the shingles. The installation process involves:
- Laying the shingles from the bottom of the roof upward.
- Overlapping each row to ensure proper water flow and prevent leaks.
- Nailing each shingle securely, ensuring they’re fastened to withstand strong winds.
Ridge Cap Installation
The ridge cap is placed along the peak of the roof, and it serves two purposes:
- Protects the highest point from wind and water infiltration.
- Adds a finished, polished look to the roof.
This is the final step in the shingle installation process.
Final Inspection
Once the shingles and ridge cap are in place, the roofing team will conduct a thorough inspection, checking for:
- Loose or damaged shingles.
- Proper flashing installation.
- Proper sealing of all joints.
The contractor will also ensure that the gutters, downspouts, and vents are in proper working order.
Cleanup
After the installation is complete, the roofing team will clean up the job site, removing:
- Leftover materials and debris.
- Nails and other sharp objects to prevent accidents.
- Any items that could damage your landscaping or vehicles.
A magnet is often used to pick up any stray nails or screws that may have fallen during the installation process.
Conclusion
Residential roof installation is a complex process, but when done correctly, it provides long-term protection and enhances the value of your home. By working with a trusted roofing contractor, you can ensure that your new roof will not only look great but will also provide lasting durability and protection for years to come. If you’re in need of residential roof installation, be sure to consult with an experienced contractor who can guide you through the process and help you choose the best materials for your home.
FAQs
- How long does a roof installation take?
Typically, it takes between 1 to 3 days, depending on the size of your roof and material choice.
- How much does a new roof cost?
Roof costs vary greatly, but on average, they range from $5,000 to $15,000, depending on materials and roof size.
- What is the lifespan of a new roof?
Asphalt shingles last around 20-30 years, while metal and tile roofs can last 50 years or more.
- Can I install a new roof over my old roof?
It’s possible in some cases, but removing the old roof allows for better inspection and a more secure foundation for the new roof.
- How do I maintain my new roof?
Regularly clean gutters, remove debris, and schedule annual inspections to extend the life of your roof and prevent leaks.


