


If you’ve ever brought home a flat-packed box from Ikea and stared at the instruction manual with a mix of hope and confusion, you’re not alone. Assembling Ikea furniture is a rite of passage for homeowners, renters, students, and DIY enthusiasts. While Ikea provides clear instructions and handy diagrams, the process can still be daunting—especially for beginners.
That’s where having a few clever assembly hacks up your sleeve can make all the difference. In this guide, brought to you by Furnitureassemblyguy, we’ll walk you through the most effective, time-saving, and frustration-reducing Ikea furniture assembly hacks. Whether you’re building a simple Lack table or a multi-compartment PAX wardrobe, these tips will give you a smooth and successful Ikea furniture assemble experience.
1. Unbox Everything First — But Keep It Organized
One of the most common mistakes beginners make is diving straight into the build without laying out the pieces. Before you start assembling:
-
Open the box and spread out all components.
-
Group similar pieces together (e.g., all wooden panels in one area, all screws in another).
-
Use a muffin tin or ice cube tray to organize the tiny hardware pieces.
-
Don’t throw away the packaging until everything is assembled — sometimes small parts are hidden in flaps or corners.
Keeping everything visible and grouped reduces confusion and speeds up your build.
2. Read the Manual All the Way Through (Yes, Really)
It might be tempting to skip the manual and “wing it” based on intuition or past experience. However, Ikea’s instruction booklets are carefully designed for a reason. Spend a few minutes reading through the entire manual first:
-
Understand the overall steps and any specific warnings.
-
Identify stages where you might need a second person.
-
Check for orientation instructions — many pieces look similar but only fit one way.
Trust us, this one step will save you from redoing an entire section later.
3. Upgrade Your Tools
Ikea often includes a small Allen key and recommends a basic Phillips screwdriver. But for a more efficient and less hand-cramping experience:
-
Use a power drill or electric screwdriver with a torque setting to prevent over-tightening.
-
Get a full hex key set or Allen key bits that fit your drill.
-
A rubber mallet is perfect for gently tapping dowels or panels into place without damaging the wood.
-
Keep a level handy to make sure your bookshelves or wardrobes don’t lean.
Professional furniture assembly services like Furnitureassemblyguy always come prepared with high-quality tools to make the process faster and cleaner.
4. Use Masking Tape to Label Parts
Even though Ikea furniture parts are often labeled with diagrams in the manual, they rarely have physical labels on the pieces themselves. To avoid confusion:
-
Use small pieces of masking tape to number or label parts as you identify them.
-
Match them to the manual’s illustrations for quick recognition.
-
Mark the front/back or top/bottom if it’s not immediately obvious.
This simple hack can dramatically reduce the chances of misaligning panels or attaching things upside down.
5. Don’t Tighten Screws All the Way—At First
One of the golden rules of Ikea assembly is to partially tighten screws and bolts during the early stages. Why?
-
It allows you to make adjustments and ensure everything aligns properly.
-
Tightening too early can lead to misaligned pieces or unnecessary strain on the frame.
-
Once all parts are in place, then do a final tighten across the structure.
This step is especially useful for larger items like wardrobes, beds, or shelves with multiple components.
6. Use Gravity to Your Advantage
Many Ikea pieces are designed to be assembled flat on the floor and then stood up. Take advantage of this:
-
Assemble shelves and frames horizontally where gravity helps keep things in place.
-
Once fully assembled, carefully lift the furniture with help if it’s heavy.
Avoid forcing vertical builds unless specified — it’s harder and riskier to balance components mid-air.
7. Watch Tutorial Videos for Visual Guidance
Sometimes the illustrations in the manual just don’t cut it. In that case, look up assembly videos for the specific product you’re building. Many customers and professionals post walkthroughs online.
Alternatively, professionals like Furnitureassemblyguy often offer personalized guidance or even in-person support for a smoother Ikea furniture assemble experience.
8. Use Glue for Long-Term Durability (Optional)
Ikea furniture is designed for easy disassembly and transport, so they usually avoid permanent fixtures like glue. However, if you plan to keep the furniture in one place long-term:
-
Add a dab of wood glue to wooden dowels before inserting.
-
Be cautious not to overuse glue — it can interfere with parts needing to move or adjust.
Glue strengthens joints, especially in bookshelves or items that will bear weight.
9. Double-Check Orientation Before Final Assembly
Many Ikea disasters happen because a board was installed backward, or holes ended up on the wrong side. Before securing parts:
-
Hold them up in place and preview the position.
-
Check which side has the finished surface vs. raw side.
-
Make sure pre-drilled holes are aligned correctly.
Even experienced assemblers can make this mistake, so always take a second look.
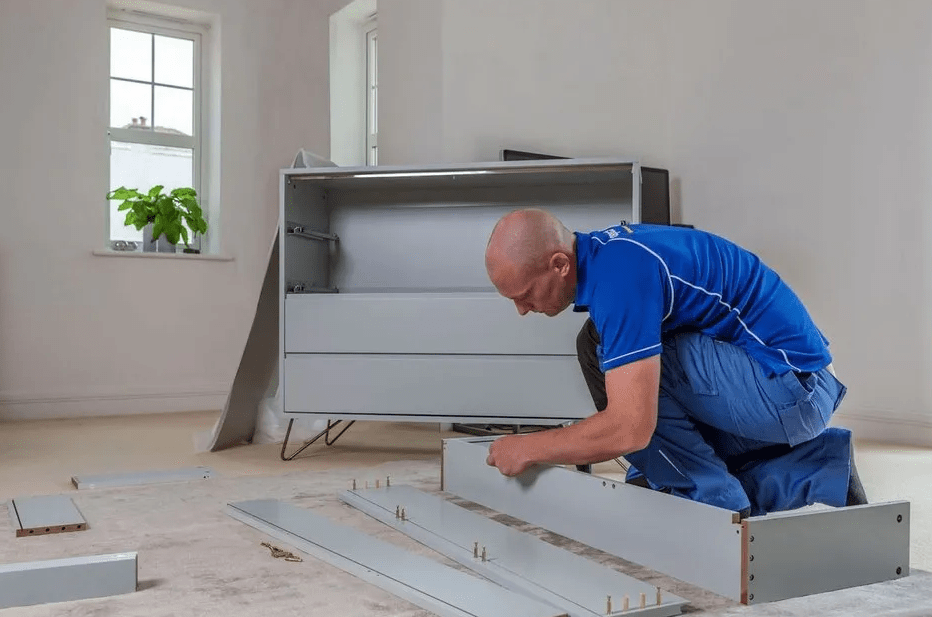
10. Know When to Call in a Pro
Sometimes, no amount of hacks or preparation can match the experience and efficiency of a professional. If you’re feeling overwhelmed, short on time, or dealing with a complex piece (like a PAX wardrobe or bunk bed), consider hiring an expert.
At Furnitureassemblyguy, we specialize in hassle-free Ikea furniture assemble services. Our team has tackled everything from simple coffee tables to custom storage units, saving customers hours of stress and frustration.
Hiring a pro means:
-
Zero errors during assembly.
-
Proper tools and techniques for lasting builds.
-
Fast, clean, and safe assembly with no mess left behind.
Bonus Tip: Keep Leftover Parts (Yes, Even the Extras!)
After you’ve completed your build, it’s tempting to toss out extra screws or wooden pegs. Don’t!
-
Store them in a labeled ziplock bag with the instruction manual.
-
Tape the bag to the inside of a drawer or back panel.
-
These spares will come in handy if you move, repair, or reassemble the piece later.
Final Thoughts
Assembling Ikea furniture doesn’t have to be a frustrating puzzle. With the right mindset, tools, and hacks, even beginners can turn flat-pack boxes into beautiful and functional home pieces. These tips not only make the process easier, but they also help ensure your furniture lasts longer and looks better.
Remember, the next time you’re about to tackle an Ikea furniture assemble project, take a deep breath, prep your workspace, and use the tricks shared above. And if you ever need a helping hand, Furnitureassemblyguy is here to make your assembly experience smooth, stress-free, and professionally done.


