


 32")


 40")
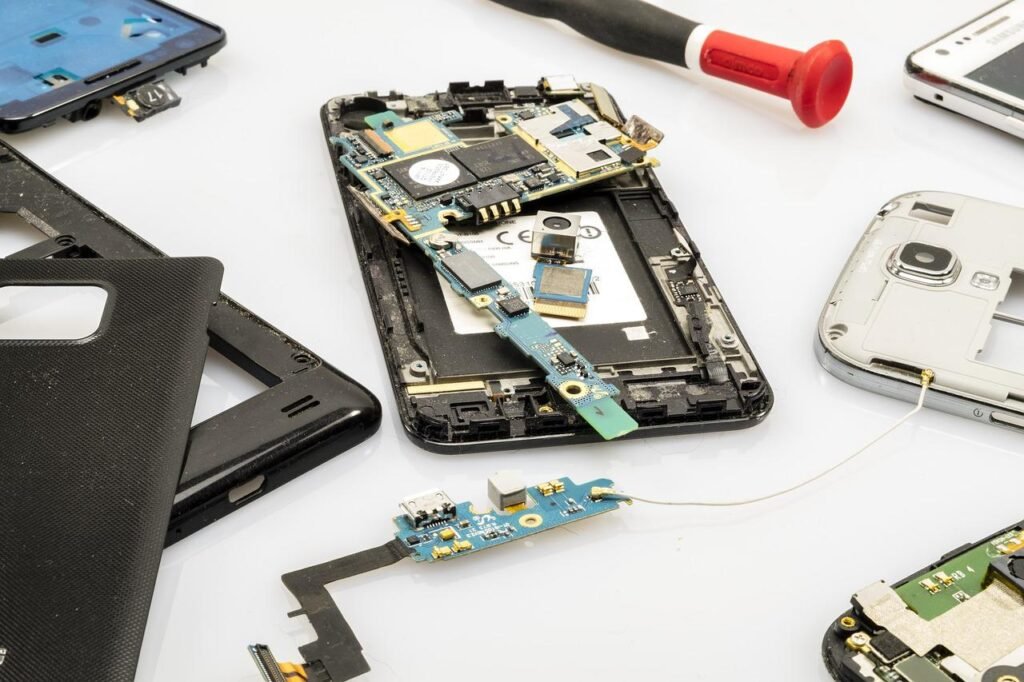
Testing a smartphone after repair isn’t just a final formality—it’s a crucial part of the process. Whether it’s a battery swap, screen replacement, charging port fix, or internal board-level repair, each task carries a risk of small errors that could affect the phone’s performance. Skipping the testing phase often leads to unsatisfied users and return visits. That’s why it’s essential to validate everything from power functionality to speaker clarity before handing the phone back. This guide outlines the most important areas to test to ensure the device operates flawlessly. Whether you’re working in a professional iPhone repair store or handling your own phone at home, these methods will help you confirm a successful repair every time.
Start with a Full Visual Inspection
After reassembly, visually inspect the phone from all angles. Check that all screws are flush with the frame and the back panel is properly secured. There should be no uneven edges or loose parts. If the screen was replaced, ensure it’s aligned and sealed tightly without air bubbles. Look for residue, smudges, or dust under the screen and around the speaker grills and camera lenses. A proper physical inspection eliminates superficial issues that could lead to customer dissatisfaction, especially in customer-facing repair environments.
Power Up the Device and Monitor Boot Behavior
Once the device is clean and visually correct, power it up. A normal boot cycle indicates success. Watch for flickering, screen anomalies, and unexpected restarts. If the screen shows the manufacturer’s logo but fails to reach the home screen, it might suggest improper internal connections or software conflicts. Restart the phone at least twice to ensure consistent behavior. This simple step helps detect intermittent issues that might not appear on the first boot.
Check the Touchscreen Accuracy
Touchscreens are highly sensitive and prone to misalignment or responsiveness issues after repair, especially when the screen or digitizer is replaced. Slide your finger across every edge and corner of the screen. Open a drawing or note-taking app and sketch lines from corner to corner. Watch for ghost touches, dead zones, or irregular touch responses. Also, test multi-finger gestures like pinch-to-zoom and swipe actions in different directions. The touchscreen must respond immediately and uniformly to input.
Test Speaker, Microphone, and Headphones
Audio testing is an important part of post-repair checks. Play a video or audio clip through the phone’s loudspeaker. Listen for clear, crisp sound without distortion. Make a test call and speak into the microphone—verify that the other party can hear you clearly. Switch to speakerphone and confirm both speaker and mic are functioning simultaneously. Plug in a wired headset (if applicable) and ensure it recognizes and plays correctly. For wireless testing, connect a Bluetooth speaker or earbuds. These components are easily overlooked but essential for day-to-day phone use.
Validate Camera and Flash Performance
Open the default camera app and test both the front and rear lenses. Take pictures, zoom in and out, and focus on objects at different distances. The autofocus should operate smoothly. Try recording a short video, then playback to check audio and image quality. If the phone has multiple cameras—ultrawide, macro, or telephoto—test each one individually. Activate the flashlight and use it both within the camera app and as a standalone light to ensure it responds correctly.
Confirm Charging and Battery Functionality
Insert the charging cable and monitor how quickly the phone recognizes the charger. Fast-charging models should display the appropriate icon. If a battery was replaced, check the battery health status in system settings and confirm it’s detected properly. Let the device charge for at least 5 minutes and ensure the percentage increases steadily. Additionally, test wireless charging if the phone supports it. Faulty charging ports, batteries, or connections can often be missed without this crucial step.
Assess Wi-Fi, Bluetooth, and Cellular Connectivity
Connectivity functions need to work flawlessly, especially after board repairs or antenna adjustments. Connect to a trusted Wi-Fi network, browse websites, and stream a video to ensure stability. Pair the phone with a Bluetooth device, such as a car stereo or headset, and test both media playback and call quality. Insert a SIM card to evaluate signal strength, call reception, and mobile data usage. These tests prove that internal antennas and network modules are functioning as intended.
Test Biometrics and Security Features
Security features like fingerprint sensors or facial recognition must be tested after screen or motherboard work. Enroll a new fingerprint and test unlocking speed and accuracy. Perform multiple unlocks under various lighting conditions. For Face ID or facial recognition, test recognition from different angles, with and without accessories like glasses. Any delay, error message, or repeated failure suggests misalignment or software conflicts that must be resolved before completing the job.
Evaluate Sensor Response and Orientation Accuracy
Many smartphones rely on gyroscopes, accelerometers, and light sensors to function intuitively. Rotate the phone and verify that screen orientation adjusts promptly. Cover the earpiece during a call to ensure the proximity sensor turns the screen off. Check auto-brightness by moving the phone from a bright to a dim setting. These sensors can be tested more thoroughly using diagnostic apps available on app stores. If they fail, it often points to loose cables or misplacement during reassembly.
Examine Software Stability and App Behavior
Open a few essential apps—browser, camera, messages, and settings—and observe how they respond. Apps should launch without delay and switch quickly in multitasking view. Try downloading an app update and navigating system menus to ensure no lag, freezing, or crashing. System notifications should appear in real time, and all background features must work. This test ensures the operating system recognizes and communicates with all hardware components correctly after the repair.
Review Final Quality with a Checklist
Before considering the phone ready, perform a final checklist review. Confirm that the screen, buttons, and ports are clean and seated properly. Check for software updates and run a storage scan to rule out memory issues. Ensure the phone isn’t overheating, especially after a battery or board replacement. A full diagnostic cycle minimizes post-repair callbacks and leaves the user with a fully functional device they can trust. Whether you’re a DIY fixer or a technician working at a Cell Phone Repair Lancaster, OH service center, this level of attention demonstrates professionalism and care.
Conclusion
Testing a phone after repair is just as important as the repair itself. Without it, even the best-installed parts can cause problems down the road. Every function—touch, sound, camera, charging, and software—plays a role in creating a smooth user experience. Skipping just one of these steps could lead to unnoticed defects or frustrated users. Taking time to methodically test a phone not only ensures successful repair but builds confidence in your skills or business. If you’re working in a busy shop or a trusted iPhone repair store, this process strengthens your reputation and guarantees the customer walks away satisfied.
click here to visit website for more interesting collection of articles


