Engraving on glass is one of the most elegant and sophisticated applications of laser crafting technology. Whether you’re creating personalized gifts, custom drinkware, or decorative pieces, glass engraving adds a touch of class to any project. If you’ve ever wondered how to achieve those crisp, detailed designs on glass, you’re in the right place. This guide will walk you through everything you need to know about how to engrave on glass with a laser cutter, from choosing the right materials to mastering the technique. Plus, we’ll share tips on how to turn laser crafting into a profit by creating stunning glass pieces.
Why Engrave on Glass?
Glass engraving is a popular choice for many reasons:
- Timeless Elegance: Glass has a classic, high-end look that never goes out of style.
- Versatility: You can engrave on wine glasses, mirrors, photo frames, and more.
- Personalization: Glass engraving is perfect for creating unique, personalized gifts.
- Profit Potential: Custom glass items are in high demand, making this a great way to start your laser craft business.
Tools and Materials You’ll Need
Before you start, gather the following tools and materials:
- Laser Cutter/Engraver: A CO2 laser cutter is ideal for glass engraving. Ensure it has adjustable power and speed settings.
- Glass Items: Choose items like wine glasses, mirrors, or photo frames. Tempered glass works best for durability.
- Design Software: Use programs like Adobe Illustrator, CorelDRAW, or LightBurn to create or edit your designs. You can also find digital laser files online.
- Rotary Attachment (Optional): For cylindrical items like glasses, a rotary attachment ensures even engraving.
- Safety Gear: Always wear protective goggles and ensure proper ventilation when working with a laser engraver.
If you’re in New York City, Los Angeles, or Chicago, consider joining a laser engraving course or laser crafting classes to get hands-on experience.
Step-by-Step Guide to Glass Engraving
Step 1: Choose Your Design
Select a design that suits your project. Simple, high-contrast designs work best for glass engraving. You can create your own design using AI-assisted laser design tools or download laser design files for projects.
Step 2: Prepare the Glass
Clean the glass thoroughly to remove any dust, fingerprints, or residue. Any imperfections on the surface can affect the quality of the engraving.
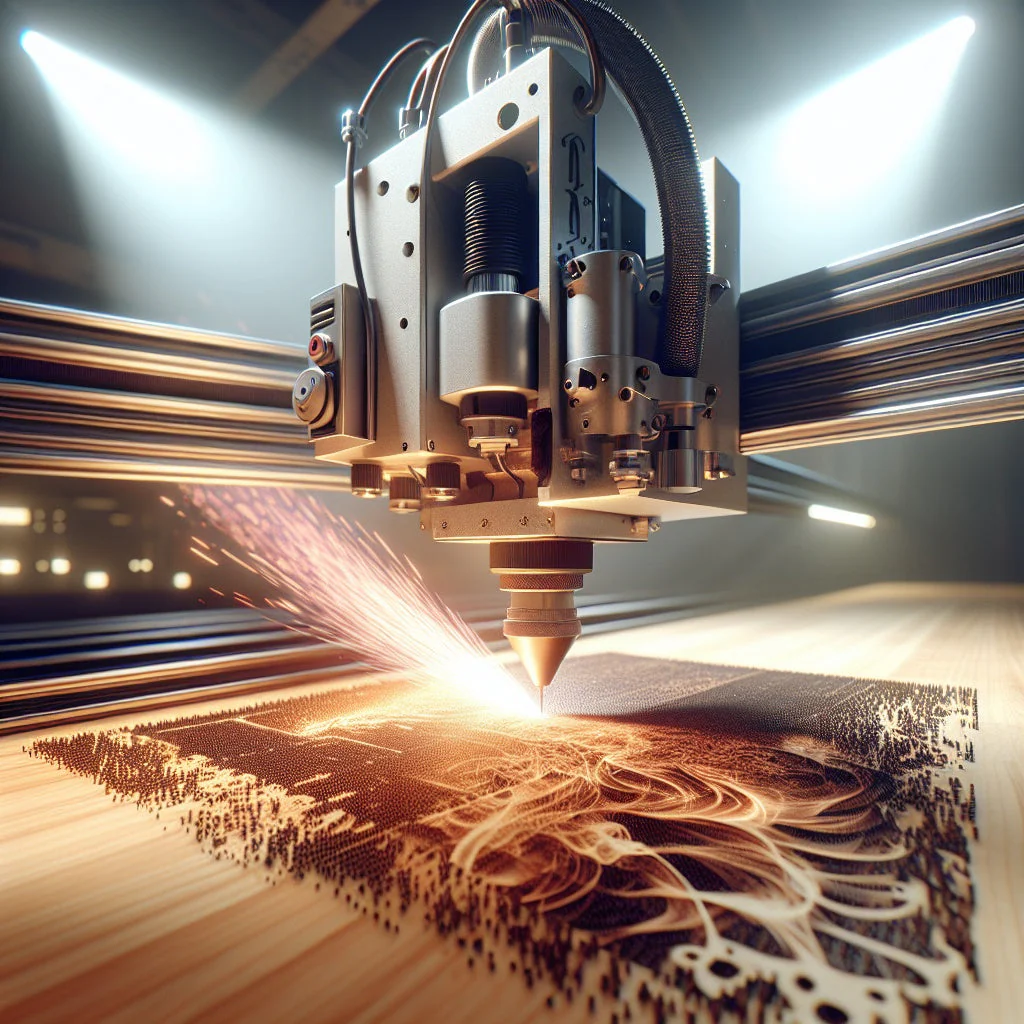
Step 3: Set Up Your Laser Cutter
Load your design into the laser cutter software. Adjust the power and speed settings. For glass, use lower power settings (around 10-20% of the machine’s maximum power) and higher speeds to avoid cracking.
Step 4: Apply a Thin Layer of Soapy Water (Optional)
To prevent heat buildup and reduce the risk of cracking, some crafters apply a thin layer of soapy water to the glass surface. This acts as a heat sink and helps distribute the laser’s energy evenly.
Step 5: Start Engraving
Place the glass in the laser cutter and start the engraving process. If you’re using a rotary attachment for cylindrical items, ensure it’s properly aligned. Watch as the laser creates your design with precision.
Step 6: Clean the Engraved Glass
Once the engraving is complete, clean the glass to remove any residue from the engraving process. Use a soft cloth to avoid scratching the surface.
Tips for Perfect Glass Engraving
- Use High-Quality Glass: Tempered glass or high-quality drinkware produces the best results.
- Test First: Always test your design and settings on a scrap piece of glass before working on your final piece.
- Avoid Overheating: Use lower power settings and multiple passes to prevent cracking.
- Experiment with Designs: Try different designs, from intricate patterns to simple text, to see what works best.
- Join a Laser Engraving Class: If you’re serious about mastering glass engraving, consider enrolling in laser engraving training courses or laser cutting courses. Many cities like Los Angeles and New York City offer craft classes and workshops.
Turning Glass Engraving into a Business
If you’re passionate about laser crafting, why not turn it into a business? With the right skills and creativity, you can start your laser craft business and make money with your laser. Here’s how:
- Create Personalized Gifts: Offer custom glass engraving services for weddings, anniversaries, or corporate events.
- Sell Online or Locally: Platforms like Etsy are great for selling laser craft ideas, or you can set up a booth at local markets.
- Offer Workshops: Once you’ve mastered the craft, consider offering laser crafting classes or workshops in your area.
- Expand Your Skills: Learn other techniques like 3D illusion laser engraving or photo engraving to offer a wider range of products.
Where to Learn More
If you’re looking to dive deeper into glass engraving, there are plenty of resources available. Check out laser engraving courses near you, or explore online tutorials. Cities like Los Angeles and New York City are hubs for craft classes and laser cutter training. You can also find digital laser files and laser design files for projects online to inspire your next creation.
Final Thoughts
Engraving on glass with a laser cutter is a rewarding and creative process that allows you to turn ordinary glass items into works of art. Whether you’re a beginner or an experienced crafter, this technique opens up a world of possibilities. With the right tools, a bit of practice, and a dash of creativity, you can create stunning pieces that amaze and inspire.
So, what are you waiting for? Grab your laser cutter, fire up your design software, and start exploring the magical world of glass engraving. Who knows? You might just turn laser crafting into a profit and start your own laser craft business!
Also Read: https://guest-post.org/the-ultimate-guide-to-choosing-the-best-moisturizer-for-facial-hair/