


If you are interested in DIY crafts or custom apparel, look no further than Heat Transfer Vinyl. It’s a wonderful technique that allows you to personalise from t-shirts to tote bags, hats, and home décor.
You can start with Heat Transfer Vinyl as a side business or simply a hobby. However, all of these things require a proper understanding of Heat Transfer Vinyl, which is why here, you are going to learn all the fundamentals of the same.
Whether you’re just a novice in crafting or considering it as a side business, here is all the information you need to get started with HTV.
Understanding Heat Transfer Vinyl (HTV)
Heat Transfer Vinyl, also called HTV, is a special kind of vinyl material that is used for fabric application, usually available in sheet or roll form. It has two layers, the vinyl piece and a transparent plastic carrier sheet. The application vinyl part gets cut into the desired design using a cutting machine, while the carrier holds the design in place when it’s transferred.
HTV uses heat and pressure to stick to the fabric. For this reason, everyone, from the crafter to the hobbyist to even a small business owner, considers applying HTV easy with a heat press or an ordinary household iron.
During the heat application, which is mostly achieved with a heat press or iron, the adhesive melts and sticks to the fabric while producing a lasting design, which is often washable.
What are the different types of HTV?
The following HTV types are available, each serving different features and purposes:
- Standard HTV: The most common and most used on everyday clothing.
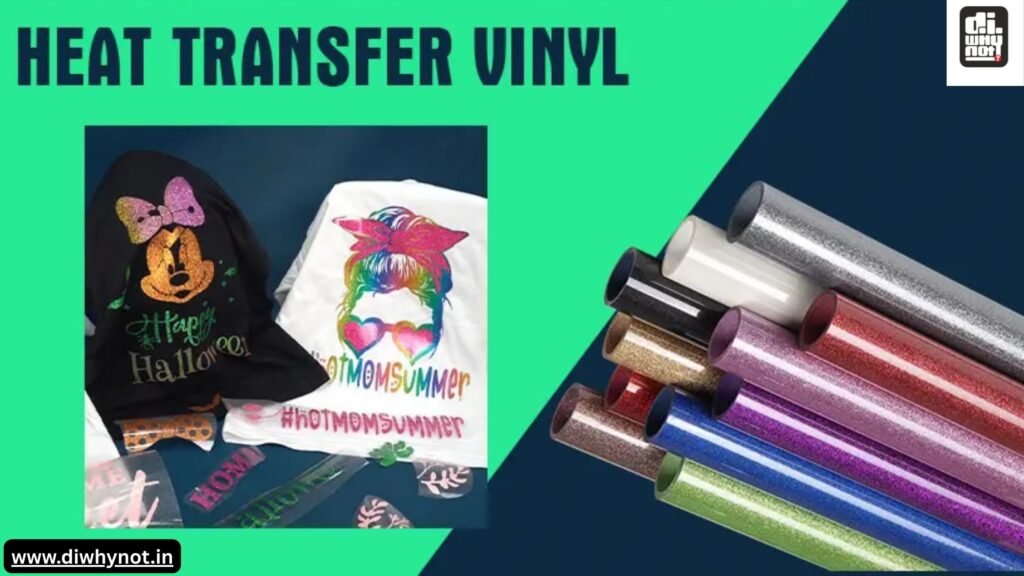
- Glitter HTV: It has the potential to create bling-bling effects, which is a wonderful choice for catchy designs.
- Metallic & Foil HTV: These glitter and shine in a mirror-like fashion.
- Stretch HTV: This would be preferable for any kind of activewear or flexible-fabric needs.
- Glow-in-the-Dark HTV: Great for creating fun kids’ wear, costumes, or night-time accessories.
- Patterned HTV: These have printed designs onto them so that they can be used better for more complicated designs.
Pieces of equipment to start with HTV
Starting with the HTV is easy with the right tools:
- A cutting machine (like Cricut or Silhouette) to cut your design.
- Weeding tools to remove excess vinyl.
- A heat press or household iron.
- A Teflon sheet or parchment paper to protect the design during pressing.
What is the process to use HTV?
- Design: Use design software to create or upload artwork.
- Mirror Your Image: Always mirror your design before cutting, especially with text.
- Cut: Stick the HTV shiny side down in the machine and proceed to cut the design.
- Weed: In this step, you need to remove any excess vinyl from the material, leaving only the desired design.
- Press: Place the design on the fabric and cover it with a Teflon sheet, adding heat and pressure.
- Peel: When cooled (or as directed), peel off the carrier sheet to reveal your final product.
Tips to get the perfect results
Check the manufacturer’s instructions for temperature, pressure, and peel recommendations. All HTV-decorated items should be washed inside out and not too hot.
Just a little creativity will get one into the ‘world’ of personalisation with HTV. It is a craft that many can perfect for fun or business, and with the knowledge that we have presented in the guide, you can easily start with the same.
If you are interested in DIY crafts or custom apparel, look no further than Heat Transfer Vinyl. It’s a wonderful technique that allows you to personalise from t-shirts to tote bags, hats, and home décor. You can start with Heat Transfer Vinyl as a side business or simply a hobby. However, all of these things require a proper understanding of Heat Transfer Vinyl, which is why here, you are going to learn all the fundamentals of the same. Ready to explore crafting ideas and tools more? Check out Diwhynot for premium supplies and inspiration tailored for your DIY journey!


