A blazer or suit is more than just a piece of clothing—it’s a symbol of professionalism, sophistication, and personal style. But even the most expensive suit can look unkempt and untidy if it’s wrinkled. That’s why learning how to properly iron your blazer and suits is an essential skill for anyone who wants to maintain a polished appearance.
While many people shy away from ironing suits due to their complex design and delicate fabrics, with the right tools, patience, and techniques, you can achieve that crisp, fresh-from-the-tailor look right at home. In this detailed guide, we’ll walk you through can you iron a blazer and suits properly, without damaging the fabric or ruining the structure of your garment.
Why Proper Ironing Matters
Blazers and suits are carefully constructed with a unique blend of fabrics, linings, and padding to give them their structured form. Improper ironing techniques can flatten shoulder pads, create unsightly shine, and warp the suit’s natural contours. That’s why it’s important to be both cautious and methodical when ironing these garments.
Not only does proper ironing help you maintain a sharp look, but it also prolongs the life of your clothing. When done correctly, ironing can restore the fabric’s smooth texture, eliminate wrinkles, and enhance the suit’s shape and fit.
Tools and Materials You Will Need
Before you begin ironing, gather the essential tools that will help you do the job safely and effectively:
-
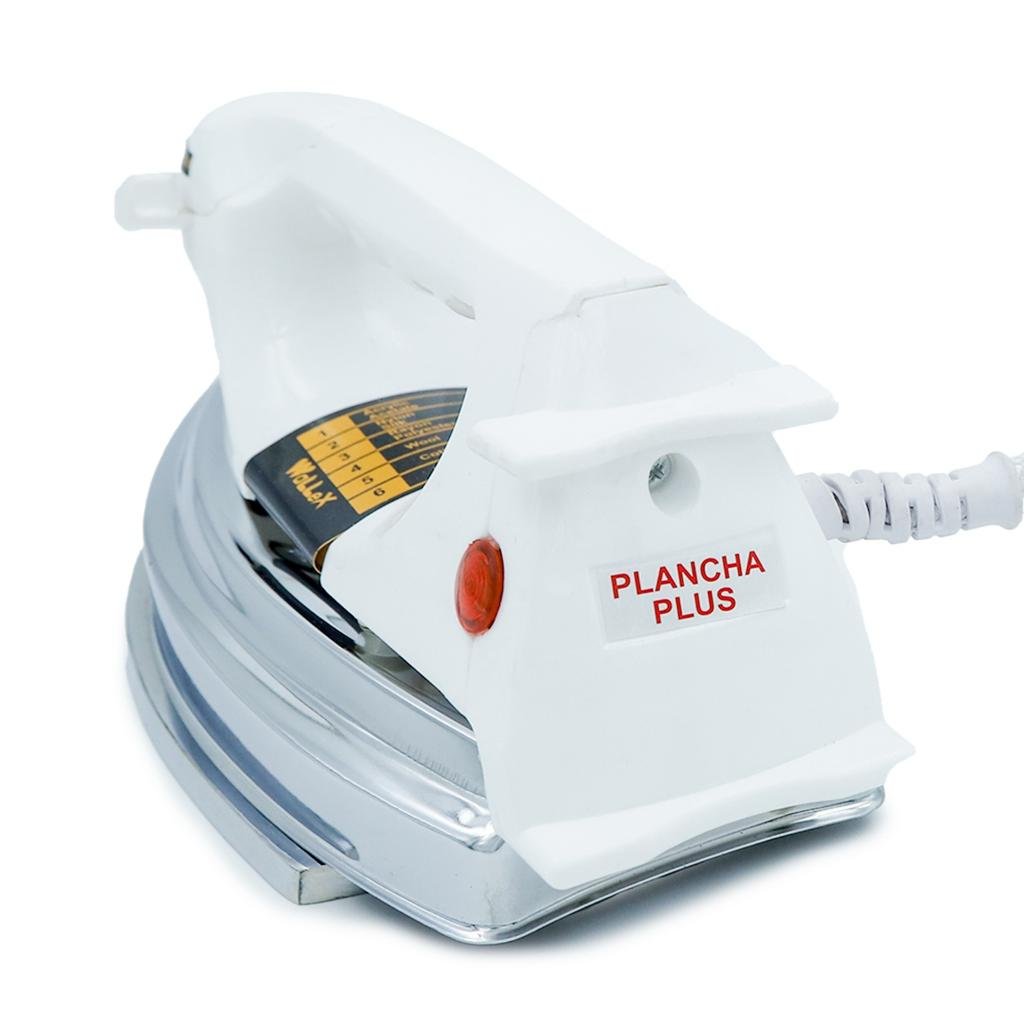
Steam Iron – Choose one with adjustable temperature settings and a steam function.
-
Ironing Board – A firm, padded surface is essential for pressing.
-
Pressing Cloth – A thin, clean cotton cloth placed between your iron and the fabric to prevent shine and burns.
-
Spray Bottle – Filled with water for light misting.
-
Garment Steamer (Optional) – A great tool for gentle wrinkle removal.
-
Tailor’s Ham or Rolled Towel – Helps maintain the natural shape of curved areas like shoulders.
-
Wide Hanger – For proper storage after ironing.
Step-by-Step Guide: Ironing Your Blazer
Step 1: Prepare Your Workspace
Set up your ironing board in a well-lit area. Plug in the iron and fill the reservoir with distilled water. Adjust the temperature setting based on the fabric type:
-
Wool or wool blends: Low to medium heat with steam
-
Cotton: Medium to high heat
-
Polyester blends: Low heat
-
Linen: High heat with steam
Make sure your blazer is clean. Ironing a dirty garment can set stains permanently.
Step 2: Iron the Lining (Optional)
Turn your blazer inside out and lay it flat on the ironing board. Gently press the lining using a low heat setting. Work in small sections, moving the pressing cloth with you. If the lining is severely wrinkled, this step helps smooth the inner surface, improving overall comfort and appearance.
Step 3: Iron the Back of the Blazer
Turn the blazer right side out. Lay the back panel flat on the ironing board. Place a pressing cloth over the area and gently press the iron down. Do not drag the iron—lift and press for each section. Start from the center back seam and work outward toward the sides and shoulders.
For shoulder areas, avoid pressing directly on padding. Instead, place a rolled towel or tailor’s ham underneath to maintain the natural shape and curve.
Step 4: Iron the Front Panels
Lay one front panel flat on the board. Using your pressing cloth, gently press out any wrinkles from the bottom up toward the lapel. Be mindful of pocket flaps, buttons, and seams. Do not iron directly over buttons—they can melt or warp under heat.
Use extra care around the lapels. If the lapel roll is natural and unstructured, avoid pressing it flat. Instead, lift the lapel and press lightly beneath it, then gently smooth it back into place.
Repeat this process on the other front panel.
Step 5: Iron the Sleeves
Lay one sleeve flat on the ironing board. Align the seam so the sleeve maintains its natural shape. If you prefer a crease down the sleeve, make sure it’s straight before pressing. Use a pressing cloth to protect the fabric and press gently.
If you don’t want a crease, use a sleeve board or fold the sleeve so that only one side is ironed at a time. Use steam to relax wrinkles and avoid pressing too hard, as this can flatten the sleeve and damage inner padding.
Repeat the process on the other sleeve.
Step 6: Iron the Lapels and Collar
These areas are the most visible parts of your blazer and deserve special attention. Lay the collar flat and iron from the outer edges toward the center. Be gentle and use a pressing cloth to avoid shine.
For lapels, iron underneath to preserve the natural fold. Avoid flattening the roll unless the style calls for it.
Step-by-Step Guide: Ironing Suit Trousers
Ironing the pants that go with your blazer or suit is just as important. A crisp crease can give your entire outfit a more professional look.
Step 1: Iron the Waistband and Pockets
Turn the trousers inside out and start by ironing the waistband. Smooth out the fabric and press using steam. Iron the pocket linings as well to remove bunching and wrinkles.
Then turn the trousers right side out.
Step 2: Align the Legs
Lay one leg flat on the ironing board. Line up the inseams to make sure the pants are folded properly. Decide if you want to create a crease.
-
For formal occasions, a sharp crease down the front is recommended.
-
For a more relaxed look, skip the crease and just iron out the wrinkles.
Step 3: Press the Crease
If you choose to create a crease, make sure the fabric is smooth and aligned before pressing. Use the pressing cloth and iron from the thigh down to the cuff. Repeat on the back side of the leg.
Do the same for the second leg. Take your time to ensure the creases are straight and even.
Step 4: Final Touches
Iron the bottom hem of each pant leg and recheck for any remaining wrinkles. Hang the trousers immediately after ironing to retain their crispness.
Important Ironing Tips
-
Use a Pressing Cloth at All Times: This protects your suit from direct heat, prevents shine, and avoids burning the fabric.
-
Do Not Press Hard: Use gentle pressure. Let the weight of the iron and the steam do the work.
-
Avoid Over-Ironing: Too much heat or frequent pressing can damage the fabric and ruin the structure of your suit.
-
Steam, Don’t Drag: If possible, use the steam function instead of dragging the iron across the garment.
-
Hang Immediately After Ironing: Use a wide-shouldered hanger to allow the suit to cool and retain its shape.
What to Do If You Don’t Have an Iron
If you don’t have access to an iron or feel unsure about using one, you can use a garment steamer. Hang your blazer or suit on a hanger and gently run the steamer over the fabric. Steam helps relax wrinkles without direct contact. It’s ideal for delicate fabrics and structured clothing like suits.
Another alternative is to use the bathroom steam trick: Hang your blazer on the back of the door while taking a hot shower. The steam from the shower will help reduce minor wrinkles. However, this is less effective than ironing or steaming directly.
Maintaining Your Suit After Ironing
After going through the effort of ironing your blazer and suit, it’s important to maintain that fresh look. Here are a few helpful aftercare tips:
-
Store in a Garment Bag: This protects your suit from dust, moisture, and insects.
-
Avoid Overcrowded Closets: Give your blazer space to breathe so it doesn’t wrinkle.
-
Use Proper Hangers: Wide, padded hangers help retain the shoulder structure.
-
Brush Off Lint and Dust: A fabric brush or lint roller can help keep your suit looking clean.
-
Steam Light Wrinkles Before Wearing: If the suit gets lightly wrinkled in the closet, a quick steam can refresh its appearance.
Conclusion
Ironing a blazer and suit at home might seem intimidating at first, but with the right approach and a little care, it becomes a manageable task that pays off in spades. Whether you’re preparing for an important meeting, a formal event, or just want to keep your wardrobe in pristine condition, mastering the skill of properly ironing your blazer and suit is well worth the effort.
By following the methods outlined in this guide—using the right tools, being gentle with pressure, and working slowly and methodically—you can achieve a professional, wrinkle-free look that reflects confidence and attention to detail. A well-ironed blazer isn’t just about appearance; it’s about presence. So take the time, do it right, and step out in style.


